
{ Welcome Fall DIY Tutorial - Handmade Paper Flowers and Ornaments }
6:24 PM
The fall season is
almost here and it brings along good weather and festivals to celebrate! Fall
reminds us of neutral tones with hints of yellows and oranges. While we wait
for Halloween to arrive, we can surely spruce up our homes (and gift bags) with
paper pumpkin crafts.

In this DIY tutorial
we make gift tags and décor ornaments from a single sheet of coloured paper.

The materials that you are going to need for the tutorial are:
-
A4 sized coloured sheet (orange)
-
Paper scraps for leaves (green)
-
Scissors
-
Paper cutter
-
Glue
-
Ruler
-
Pencil
-
Pen (with an empty refill)
-
A base for cutting paper (preferably a craft
mat)
We hit two birds with
one stone in this tutorial as we start with making paper flowers from coloured
paper.
1. Cut the sheet of paper into 5 equal strips (1.75” each).

2. Cut the five strips into these sizes – 2X11”, 2X9” and 1X7”.

3. With the help of an empty-refilled pen and a ruler, we mark creases on the paper every 1 cm.

4. The technique of creasing with the pen is also called “scoring”.

5. Once you have marked all the creases, the strip of paper should look like this:

6. Now fold the strip in a zig-zag manner in opposite directions.

Once done, it looks like this:

Tip - Score all the strips before you start pasting them to avoid the gucky-sticky on your sheets.

7. Paste the two ends of the strip together, using glue, and let it dry.

Tip - Hold it in place for a while before you set it aside to dry.

8. You shall have 5 somewhat floral paper circles.

9. Once you have these mechanical-looking shapes, trace and cut out circles from
the left over paper for the base of your flowers.

You don't have to trace the circle out, you can eyeball it really.

It's just my OCD that makes me use a stencil. *sigh*

10. Now all you have to do to make the paper circles into flowers is to hold it from two opposite ends and press it towards the centre of the circle. You’ll have a flower that is being held by your finger.

11. Paste the flower on to the circle, using glue, to avoid it from popping back up. Once you are done pasting all the circles onto their bases, you’ll have flowers looking like these. Pretty huh?

12. Flip them over and look you’ve made beautiful flowers!

13. Once you make these
flowers, you can either use them to decorate a gift tag or you can make them into
beautiful pumpkin ornaments for gifting as well as your own home décor.
14. To make the gift tags, fold a sheet of paper (6” X 3”) into half.

15. Paste the flower on top of the card and trace out leaves from green paper and cut them out to paste them onto the gift card.
16. Punch a hole at the top-left corner of the card and thread a twine through it.

17. And you’re ready to gift away!

Now to make a pumpkin
ornament, you have 5 flowers that you made out of a single sheet of paper.

18. Place the flowers on top of each other in the following order from bottom to top:
9” flower – 11” flower – 11” flower – 9” flower – 7” flower

19. Paste the flowers together using glue.

20. I’ve added a bit of *nature* to my ornament by using a real dry stem of a flower from my garden. You can use brown paper instead.

21. Cut up a few leaves to stick them on top of your ornament and decorate them with a few beautiful butterflies.
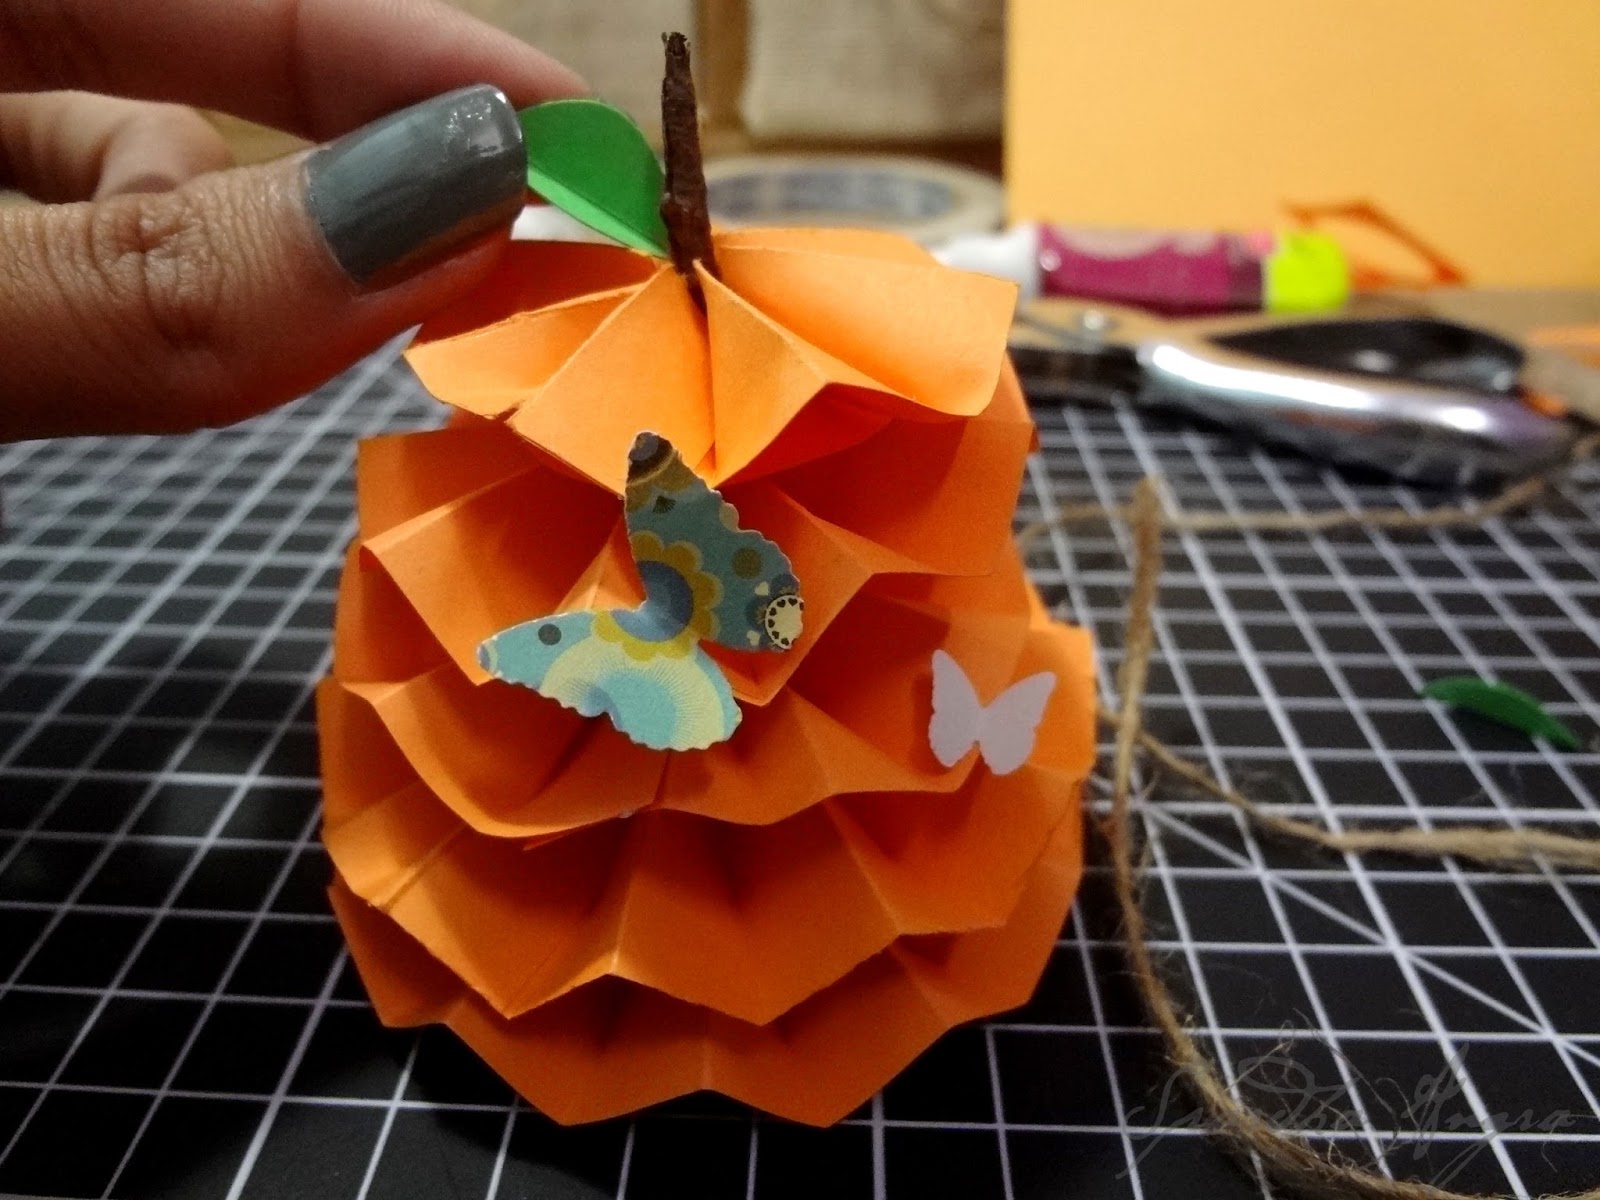
22. You have made a great gift and décor from a single sheet of paper and you can even hang a bunch of these together to make a mobile out of it.

--- Happy fall season! ---


2 comments
I really appreciate your professional approach. These are pieces of very useful information that will be of great use for me in future.
ReplyDeleteI read your post and appreciate your work.Flowers looks good.If you find some interest in fashion designing and jewellery then choose artificial jewellery of Tistabene.
ReplyDeleteI'd love to hear what you think!
Thanks for your time :)